Alice Zilberberg: My creative process
- By Alice Zilberberg
- Jul 10, 2017
- 4 min read
Updated: Nov 9, 2019

A lot of people approach me and ask how I come up with my images. Here is a little insight into my process.
GETTING INSPIRED
If you enter “my creative process” into a web browser, most descriptions start with “I come up with an idea and then …,”
So let’s start before that. Where do I get the idea in the first place?
So many different sources in my life help me to generate ideas. Sometimes they have nothing to do with photography or art, but sometimes they do. Books, podcasts, traveling, art galleries, talking, laughing, and sitting doing nothing are all potential sources. The complete artistic concept doesn’t come spontaneously. Nor does it come to me when I sit in front of a blank page titled “Ideas.” In reality, half-ideas from the past merge with incomplete ideas in the future to create something innovative.

KEEPING A RECORD
I keep an inspiration images folder containing art that I see online. Some of the images even make it into subfolders for different art projects I’m thinking about. I also maintain a list of visual ideas that I want to try (e.g., certain lighting) in Evernote. I make myself add 10 ideas a day to this list. For example, I might write, “I want to shoot something focused on women’s hair.” This hair thought will incubate until some other ideas come along that complete it.
RESEARCH
At that point, I don’t just take the idea, photograph it, and put it on the wall. Why? Because that would be boring and bad. There is always a story behind the artwork. The story is only half complete at this point, so the next step is to do some research.
I take the story stem I already have and look at other artists who have explored the same area, read about the topic, talk to people who know about it, and see if I can introduce what I’ve learned into the visual concept. All the pieces of information stew in my project soup until it’s clear what I’m trying to do.
PRELIMINARY SKETCHES
The next step in the creative cook-book is doing some sketches and tests of the idea to see if it will work. I often use paintings as inspiration for my art, and the conversion to photography can be harder than you’d think. I will do a quick photo-manipulation with images from the Internet to see what I need to add, change, subtract.
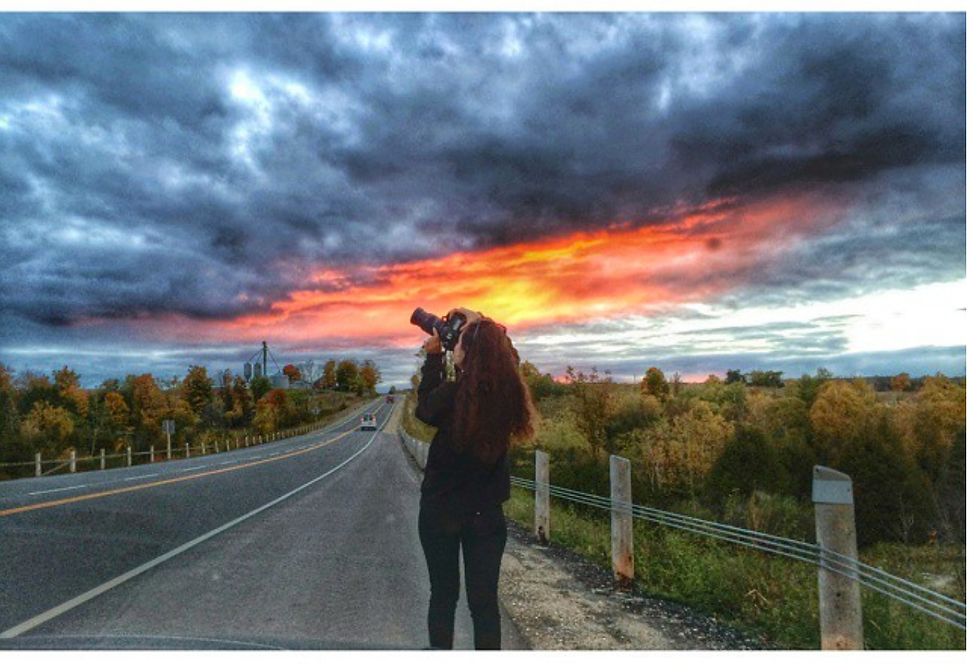
FINDING A LOCATION
Because my art projects are often so conceptual, I have to be picky about my shooting location. If I visualize a forest scene, I can’t take a model into a random one I found online and see if it works the day of the shoot. I often have to find the exact spot I want to shoot in. So I’ll do a day of location scouting, and go to different potential locations to see if any of them are good for my artwork. I take some photos, and then go home and review them.
FINDING A MODEL
Just like a location needs to be hand-picked, so does the model. I use models for most of my projects, and unfortunately they don’t just appear magically on the day of the shoot. I first outline specifically what I’m looking for. For the Goddess Almighty series, I needed a dancer. But not just any dancer; I needed someone who had a normal woman’s body to support my vision. A small ballerina could have made the image look like a fashion shoot. I look for my perfect model using model agencies, Model Mayhem, friends, and Facebook.
A TEST SHOOT
The test shoot is a crucial step in the creative process. If I’m going to do all this work of organizing models, makeup artists, and hair stylists at a particular day, time, and location, I have to make sure that what I’m doing with them will look good! I go to the location and test the lighting. Again, I go home and review my tests.
THE SHOOT
Finally, I do a photo shoot. Sometimes photo shoots take an hour; sometimes they take the whole day; sometimes I photograph different models over a long period of time. The method is unique to the project I’m working on.
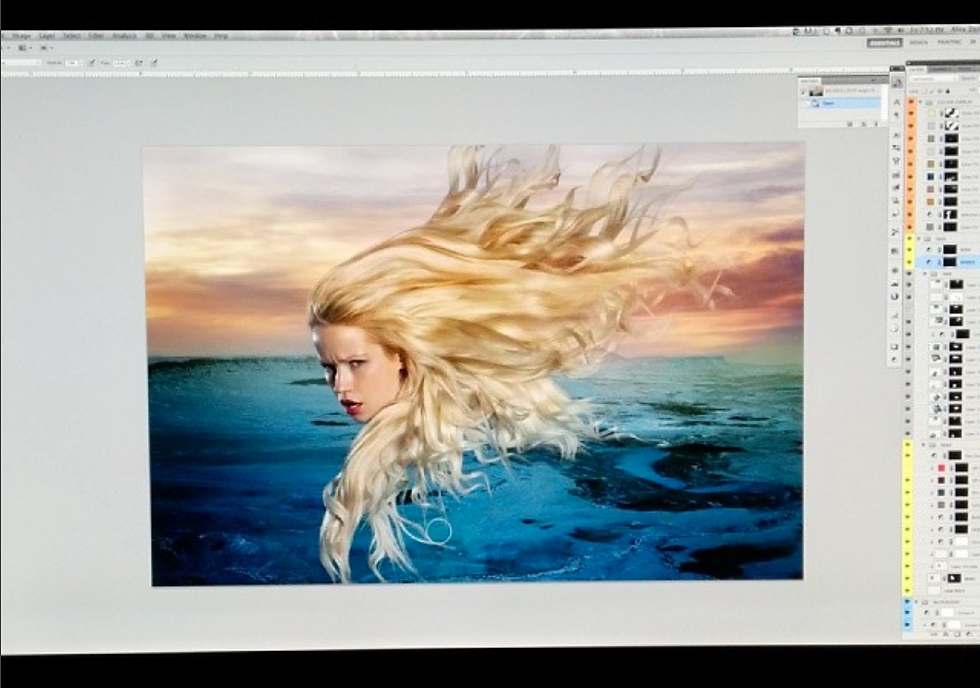
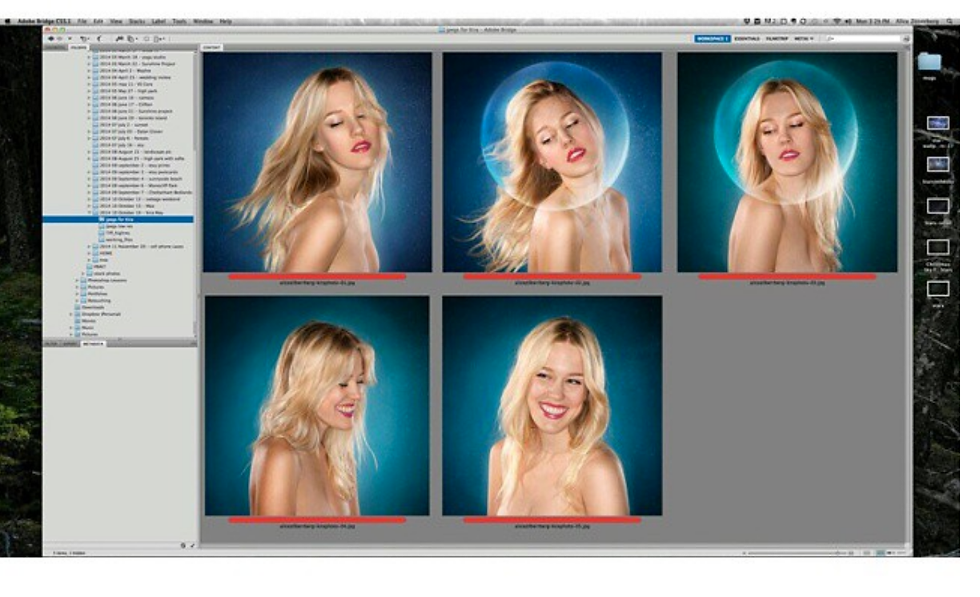
USING PHOTOSHOP
I’m not sure if you’ve noticed, but my work is very digitally involved. After I shoot, I select the best images, followed by some quick composites, and then I start working on the real thing. My style involves a lot of image compositing and photo manipulation, which can take days, weeks, or months.
REVIEWING THE WORK
After I finish working on a piece, I put it away and take a break from it for a few days. Why, you ask? Don’t I want to release it for the world to see? Well … I’ve just spent days staring at the screen hard at work. There might be things about the piece that I won’t notice until looking at it with a fresh eye. I do those things, and then the Internet can have its way with the image.

PRINTING
Once the artwork is done ... I do some more work.
The printing process separates my fine art photography from my commercial photography. I have to ensure that what I created in Photoshop looks good printed and framed. There are trillions of options for print-based artwork. I can print on canvas, glass, or a variety of different papers in different sizes, and using various frame types. All of these decisions are based on what would be best for the artwork. For example, I usually go with glossy papers for graphic work and rougher art giclee prints for artwork with a dark, natural, earthy quality. I always make sure that the paper I’m printing on is archival and acid free, to ensure the print lasts forever and ever.
See more of Alice Zilberberg's work at: www.alicezilberberg.com


